Introduction
My first workbench was inspired by Rex Krueger’s $30 workbench and it was simply terrible. As a workbench. But for me, at that time, in my space (a balcony), to my capability (none), it was perfect. Over the course of a few years I modified it regularly to improve it and learned some hard lessons along the way. So eventually when I moved and had a real shop space to fit a real workbench, I had some idea of what I would need to accomplish the kind of work I wanted to do. I have a post an my first (awful) bench coming soon.
Before the deep dive into the build, here’s a look at the numbers:
Time taken: I worked on this from around Nov 15 – Jan 11 at perhaps 5-6 hours per week, totalling about 48 hours of work.
Cost: $197.23. This included the material, cut nails, hide glue, danish oil and some hardware for installing the vise.
Tools I used: Jack plane, smooth plane, panel saw, back saw, marking gauge, marking knife, router plane, 1” chisel, mallet, claw hammer, nail set, straight edge, winding sticks, cordless electric drill. Some cheap F-style clamps. I think that’s it.
After browsing designs and considering my workshop capabilities I found the style I wanted and how I wanted to build it.
Space wise, I am used to having next to no space to work in so anything bigger than my current bench is a luxury. To fit in my new workspace though, I decided to build it to about 5’x2’.
Looking at the tools I have, space to work in, and time available, I wanted a plank top instead of laminated. This was essentially the decision maker. Lamination would take too much work, time, and resources (clamps), and I didn’t want to work around the heavy top in such a small space. I have been following The English Woodworker for a while and decided to take the plunge and go for Richard Maguire’s English Workbench:
The joinery is interesting, the construction seems solid – similar to Paul Sellers’ bench, and the bench Richard builds is 12ft long so that’s proof enough for me – and at my experience level it would offer a challenge without experimenting and learning something for the first time, risking mistakes in an important build.
If you are considering building a workbench, I highly recommend purchasing the course from The English Woodworker website. If you’re not making the bench, check out Richard’s other courses and purchase one of them, you’ll learn something.

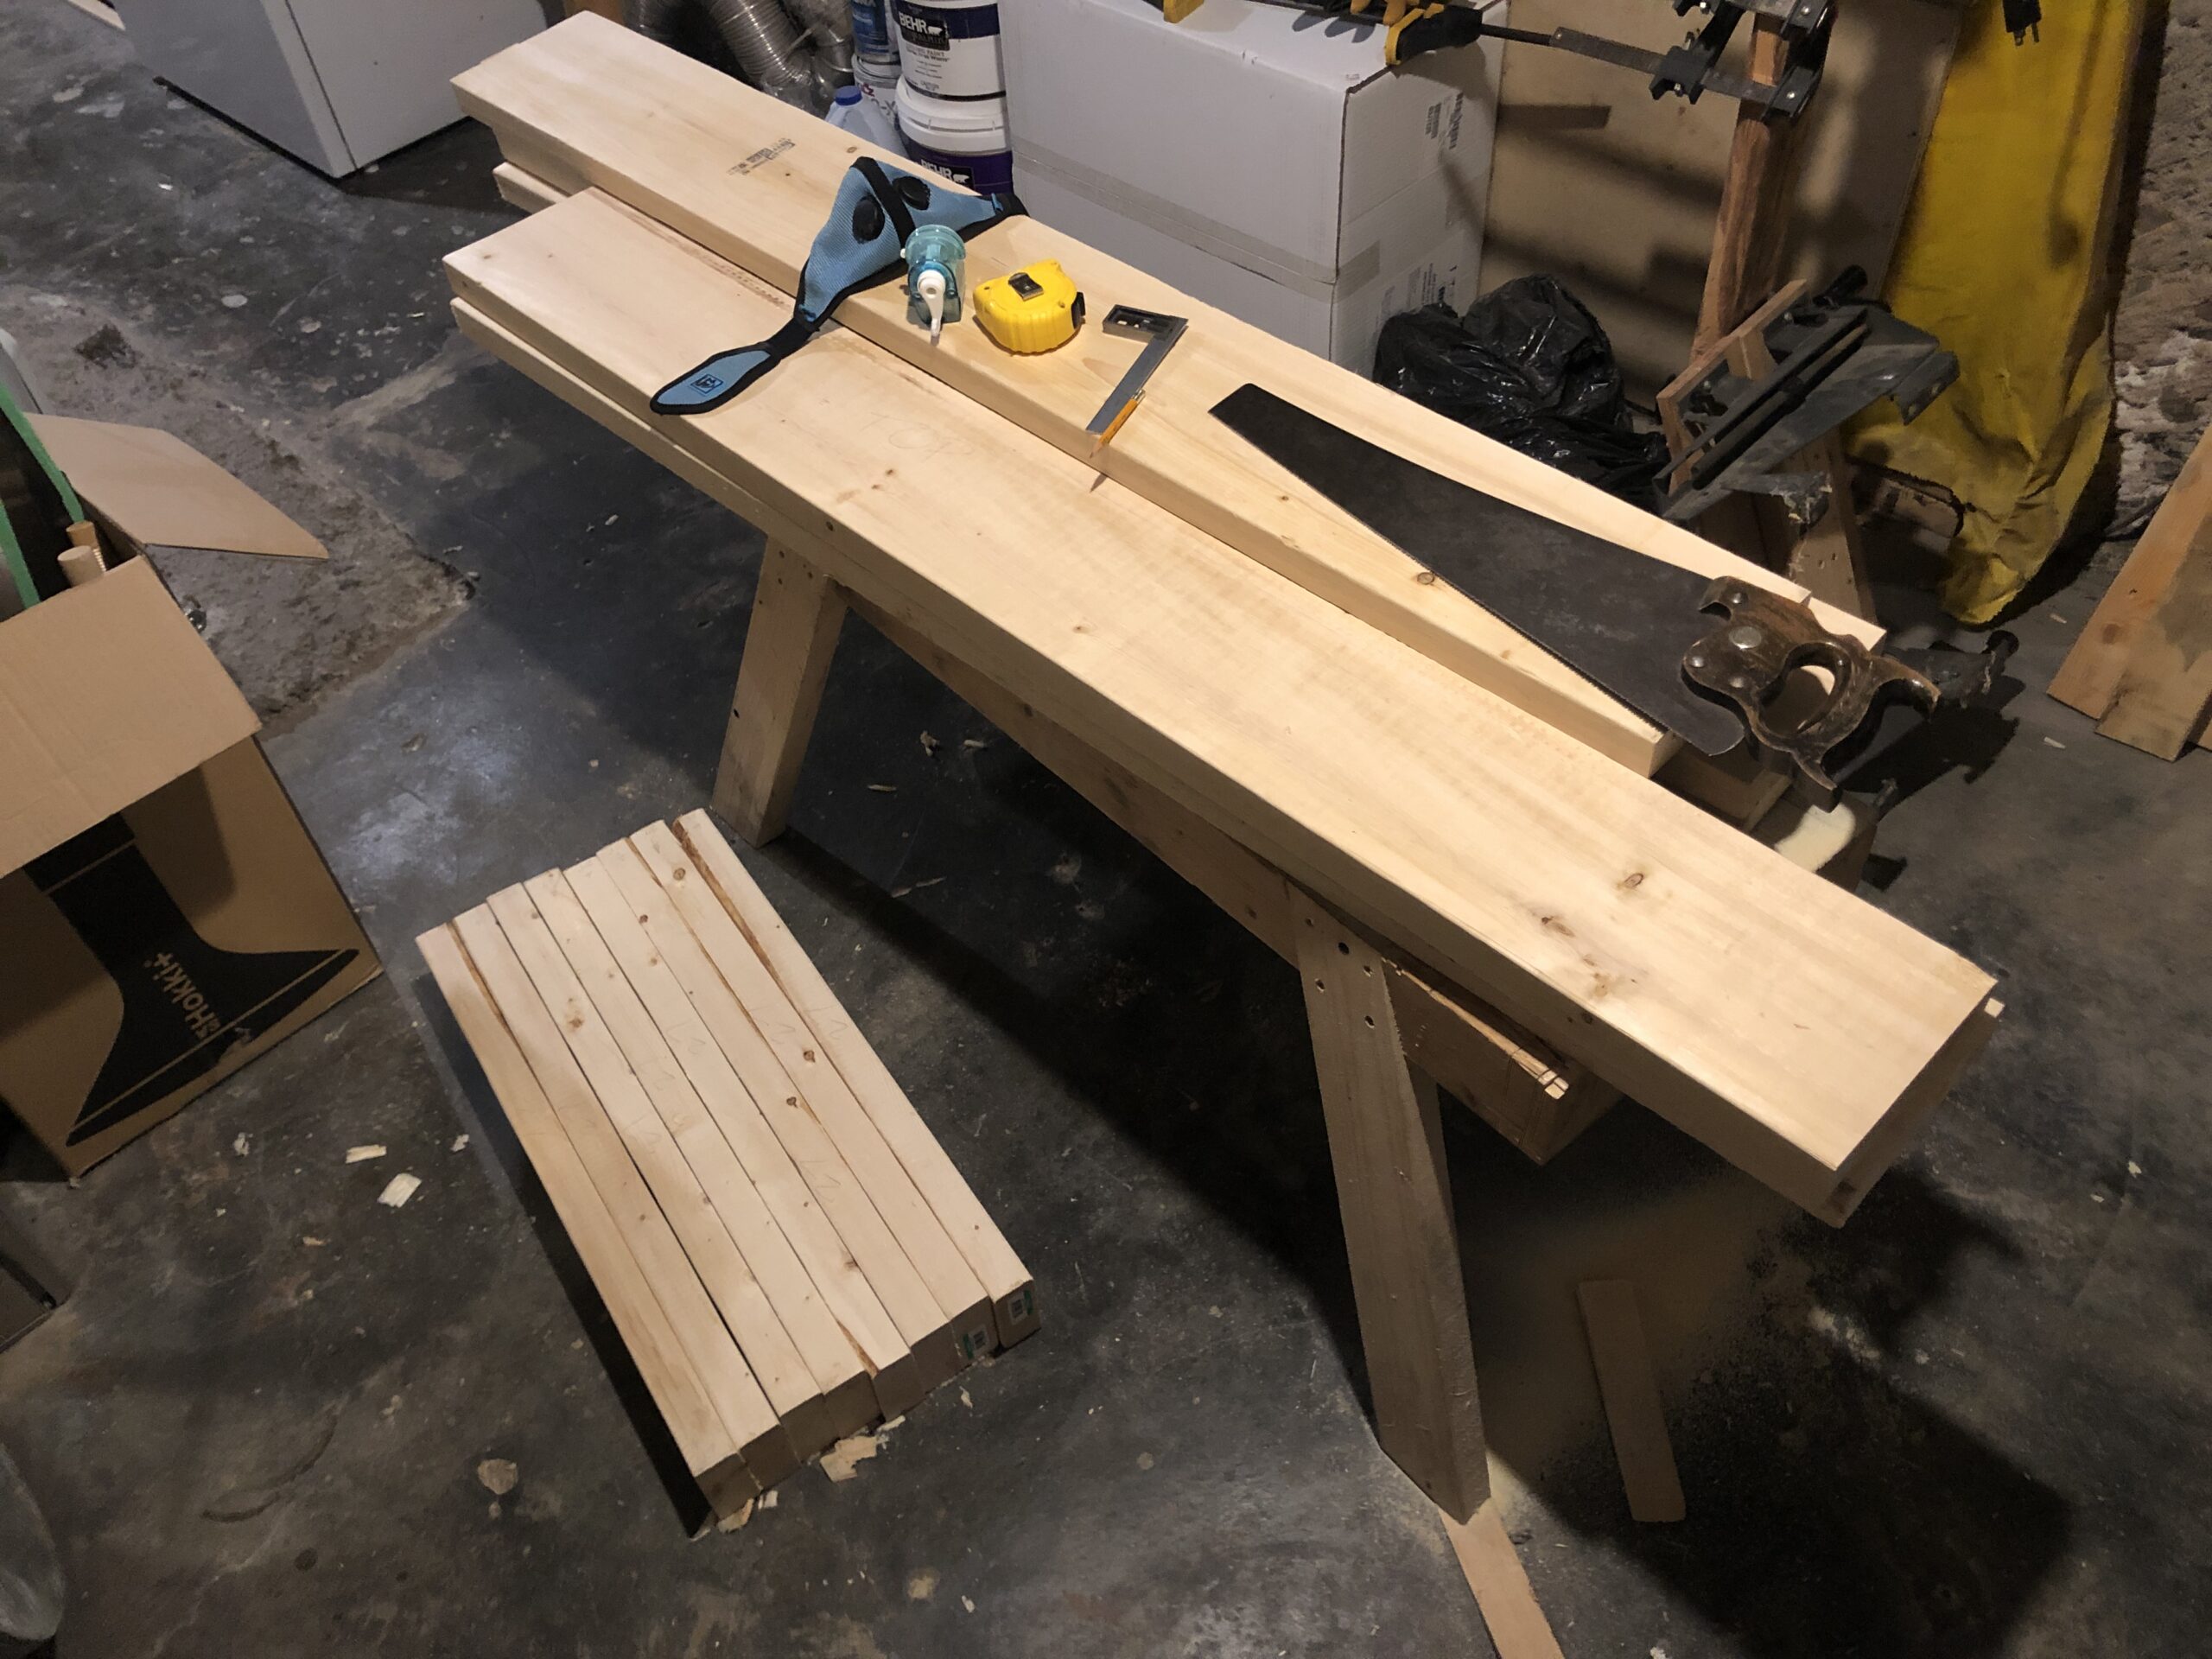
After some design and planning to figure out dimensions, material etc I made a trip to the local big box store. I picked up 3 2x8x10s, and 3 or 4 2x4x8s. This totalled just under $100, not bad for all the material I will need for a bench. That being said it is cheap but you get what you pay for, some of the 2x4s were particularly ragged in some parts. Part selection was important, choosing the best pieces for the important / visible components. Though even the hidden components had to be worked somewhat so this was still challenging.
The 2x8s weren’t in terrible shape, I got them cut in half at the store (10ft boards to 5ft pieces) and had to try to make smart decisions around what piece goes where. I tried to choose the clearest, straightest boards for front apron and top board, and work to the worst at the back apron. I was more selective about these and chose clear, straight boards. I was pleasantly surprised that even when I got to working the top, they were still fairly flat and straight, and knots or defects went towards the back.
I hauled the lumber back in my Honda Civic, loaded it into the basement, and with that the build was ready to kick off. The first stage was glueing up the legs and working on the trestles.


Leave a Reply