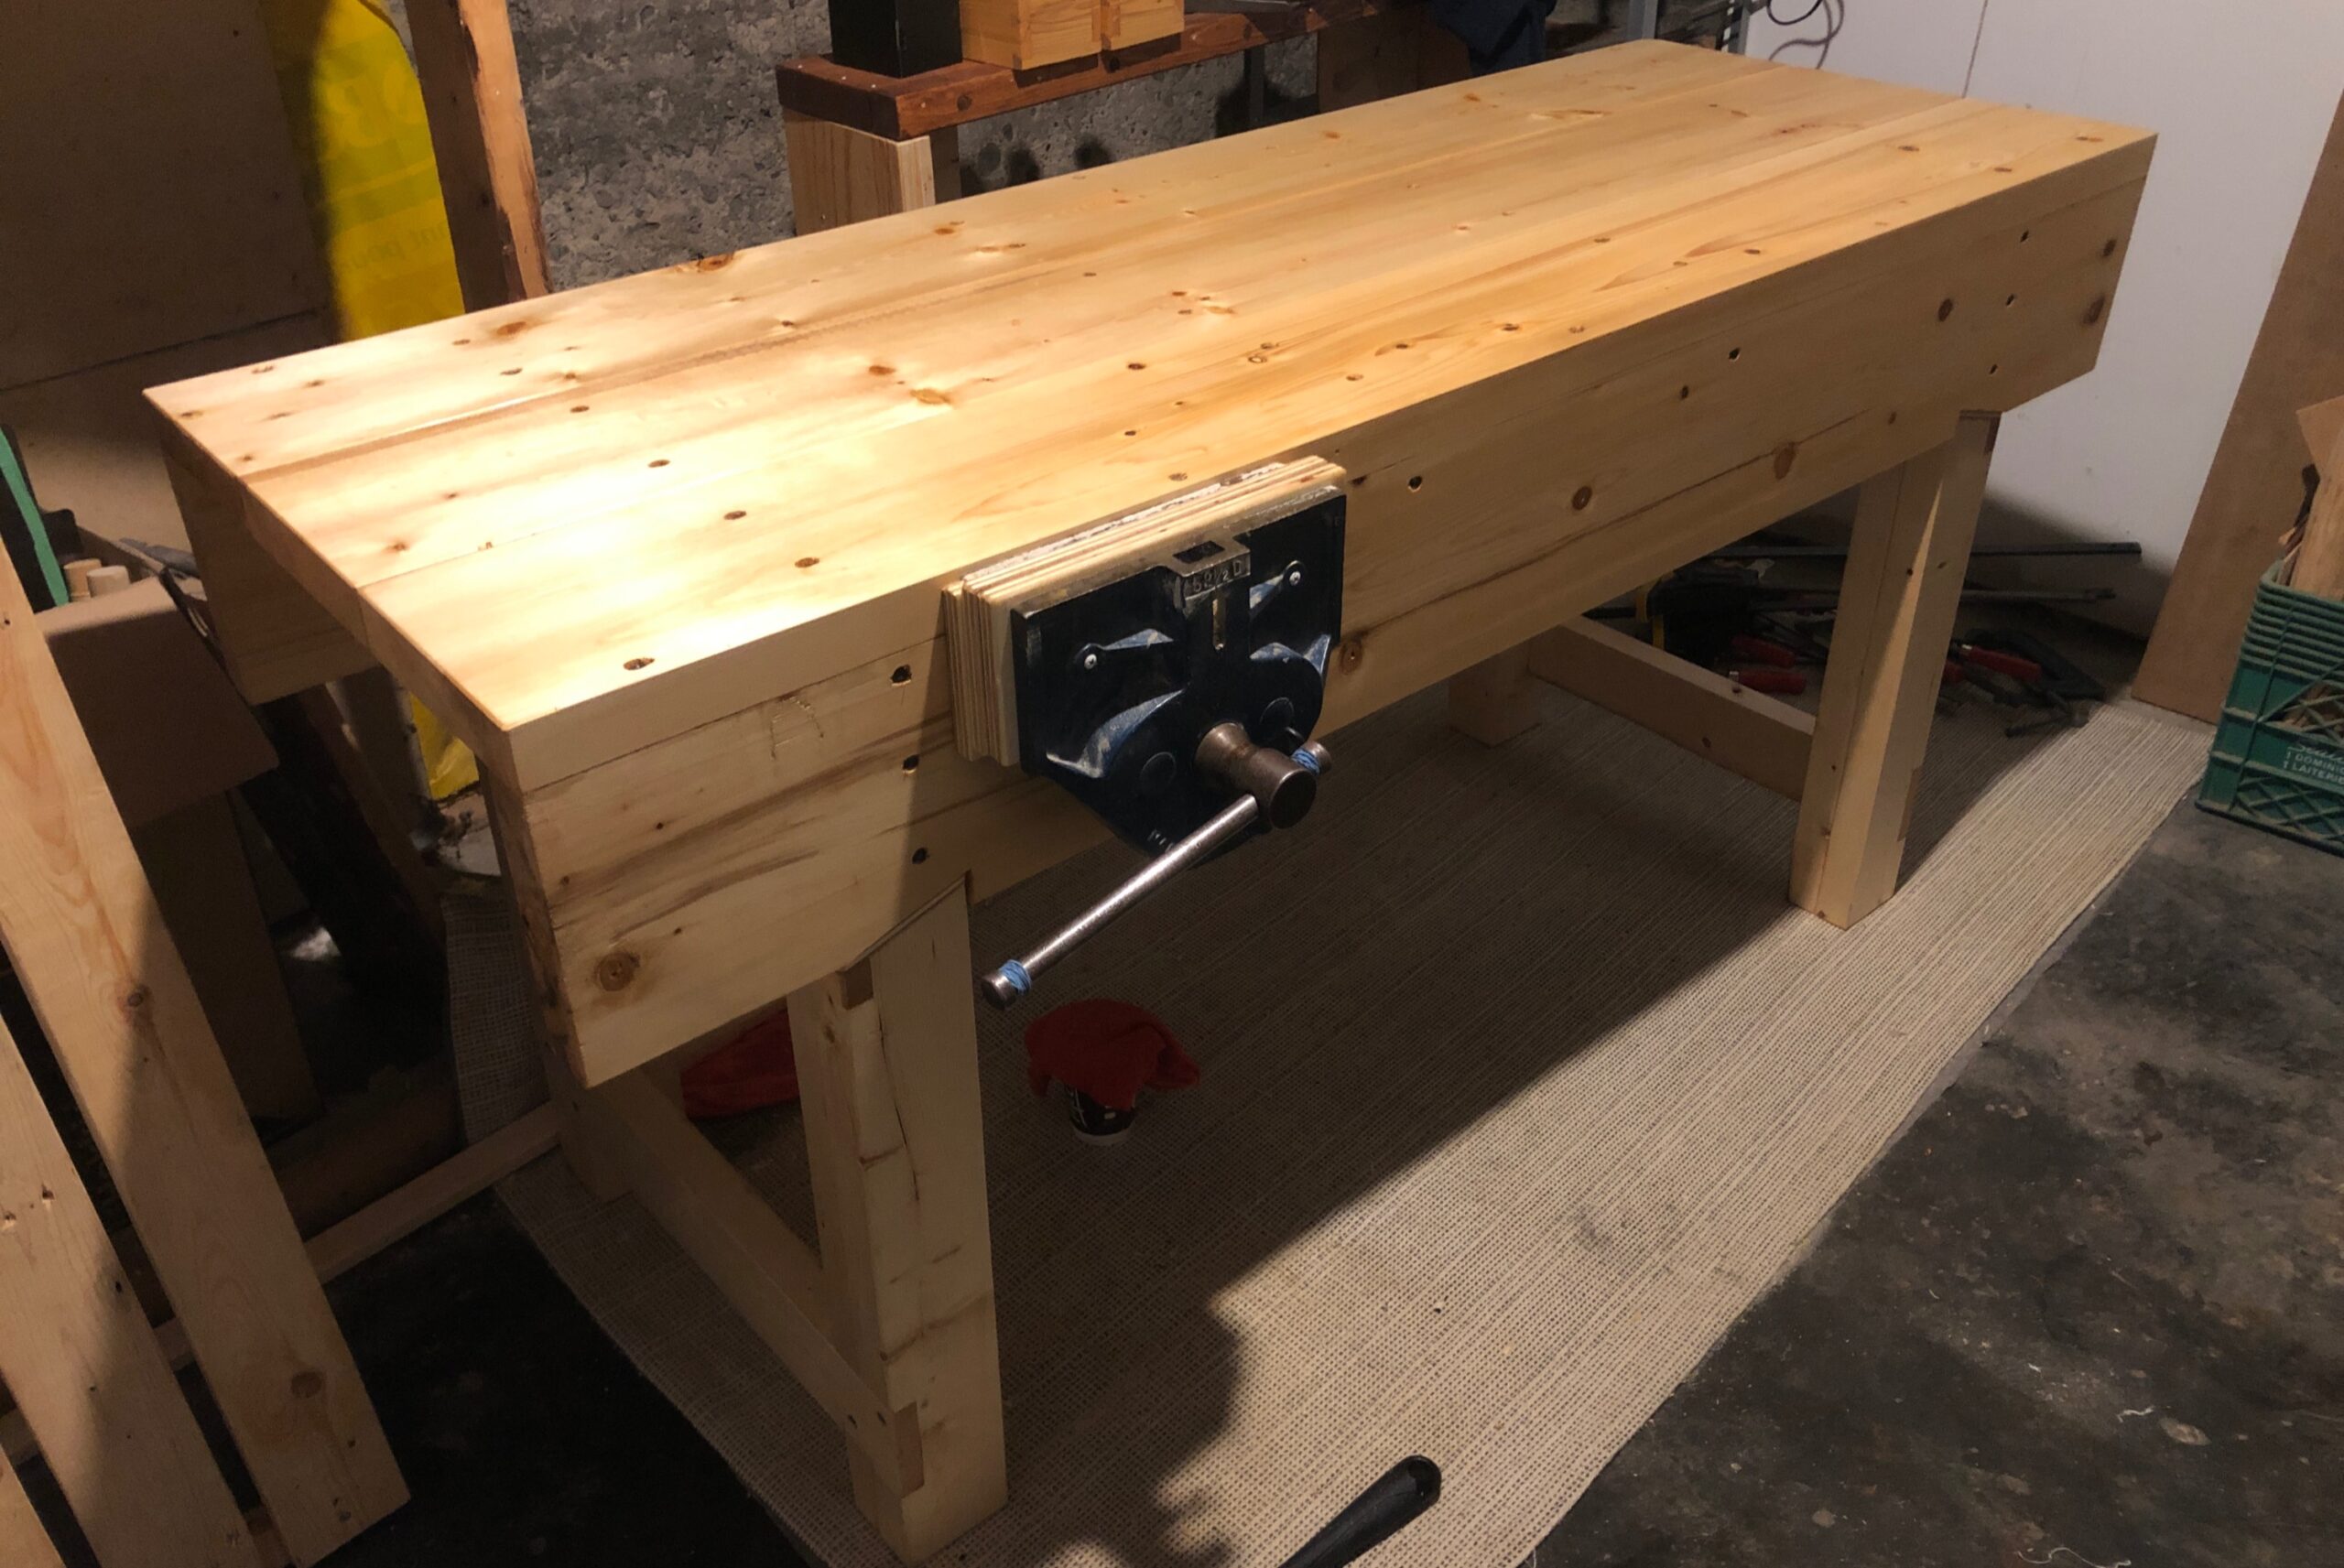
The Top
From the beginning, I made this bench for a planked top instead of having a glue-up to worry about.
I only had three pieces left so arranged them as best I could with the best at the front. I was relieved to see that everything fit just how it should – the top would overhang the aprons just slightly, to be planed flush, removing the rounded corners of the lumber, leaving about an eighth inch gap between the boards.
I assessed the boards for any warping and they weren’t that bad, some slight twist, but it didn’t take long to plane the underside flat enough to get good contact with the frame along the length. Plus I had the frame to work on top of now which made planing like a dream.

So I work the undersides, position them, and it’s time to nail them down. I worked from the back board, ran some hide glue, drilled out pilot holes and I also gave them a fairly deep countersink so I would have an easier time knocking them well below the surface.
Position the middle board, glue, drill, nail. Front, glue, drill, nail.
Now the real work began – flattening it. I assessed it from front to back for the highest spots, and worked them down first. Then I reassessed across the width with a straight edge and checked for twist. Overall it wasn’t that bad, just the regular surface unevenness that comes with construction lumber so I grabbed my jack and my jointer and got started. I took a pass from end to end going straight across, then diagonal one way, and diagonal the other.
I took light passes so as not to go too far too quickly and thin the top too much but this did take more time than taking heavier passes. I assessed after each full round for high/low spots and twist. When it was getting closer I took a pass along the length with the jointer, again just a light one to work slowly and get a feel for any low spots along the length. Rinse, repeat, until there were maybe two low spots. It would have taken a lot more time and removed a lot more material so I left well enough alone.

I planed the edges flush with the aprons, checking for square regularly on the front one. The joint line came out nice and tidy.
With that, the bench was assembled and an actual, real-life full-size workbench.
I could not be happier with it.
I chose to finish it with Danish oil and gave it two coats. I had a Record QR vise to install and basically followed Paul Sellers’ instruction on sawing out the apron, fitting it, installing blocking to bolt it to the bottom and bolting it to the apron as well. I used his method for fitting jaws too.
Adding the heavy vise gave it a lot more mass so there was no way this thing would move around with heavy planing or sawing.

Aside from the other add-ons, that was it. I had a real bench and I built it with my own two hands and a handful of hand tools. I learned a ton throughout the process and definitely improved my skills. Having the tutorials to refer to was a great resource and if you see a project that you want to build exactly as it’s presented, I would recommend splashing out and paying for the instruction. This was a project for which I wanted a predictable outcome with no ambiguity, guesswork, or uncertainty about the result.
Will it be the last workbench I ever own? Definitely not, eventually I will want to build more. But it will last a lifetime or more and most importantly, do the work that needs to be done in that time.


Leave a Reply