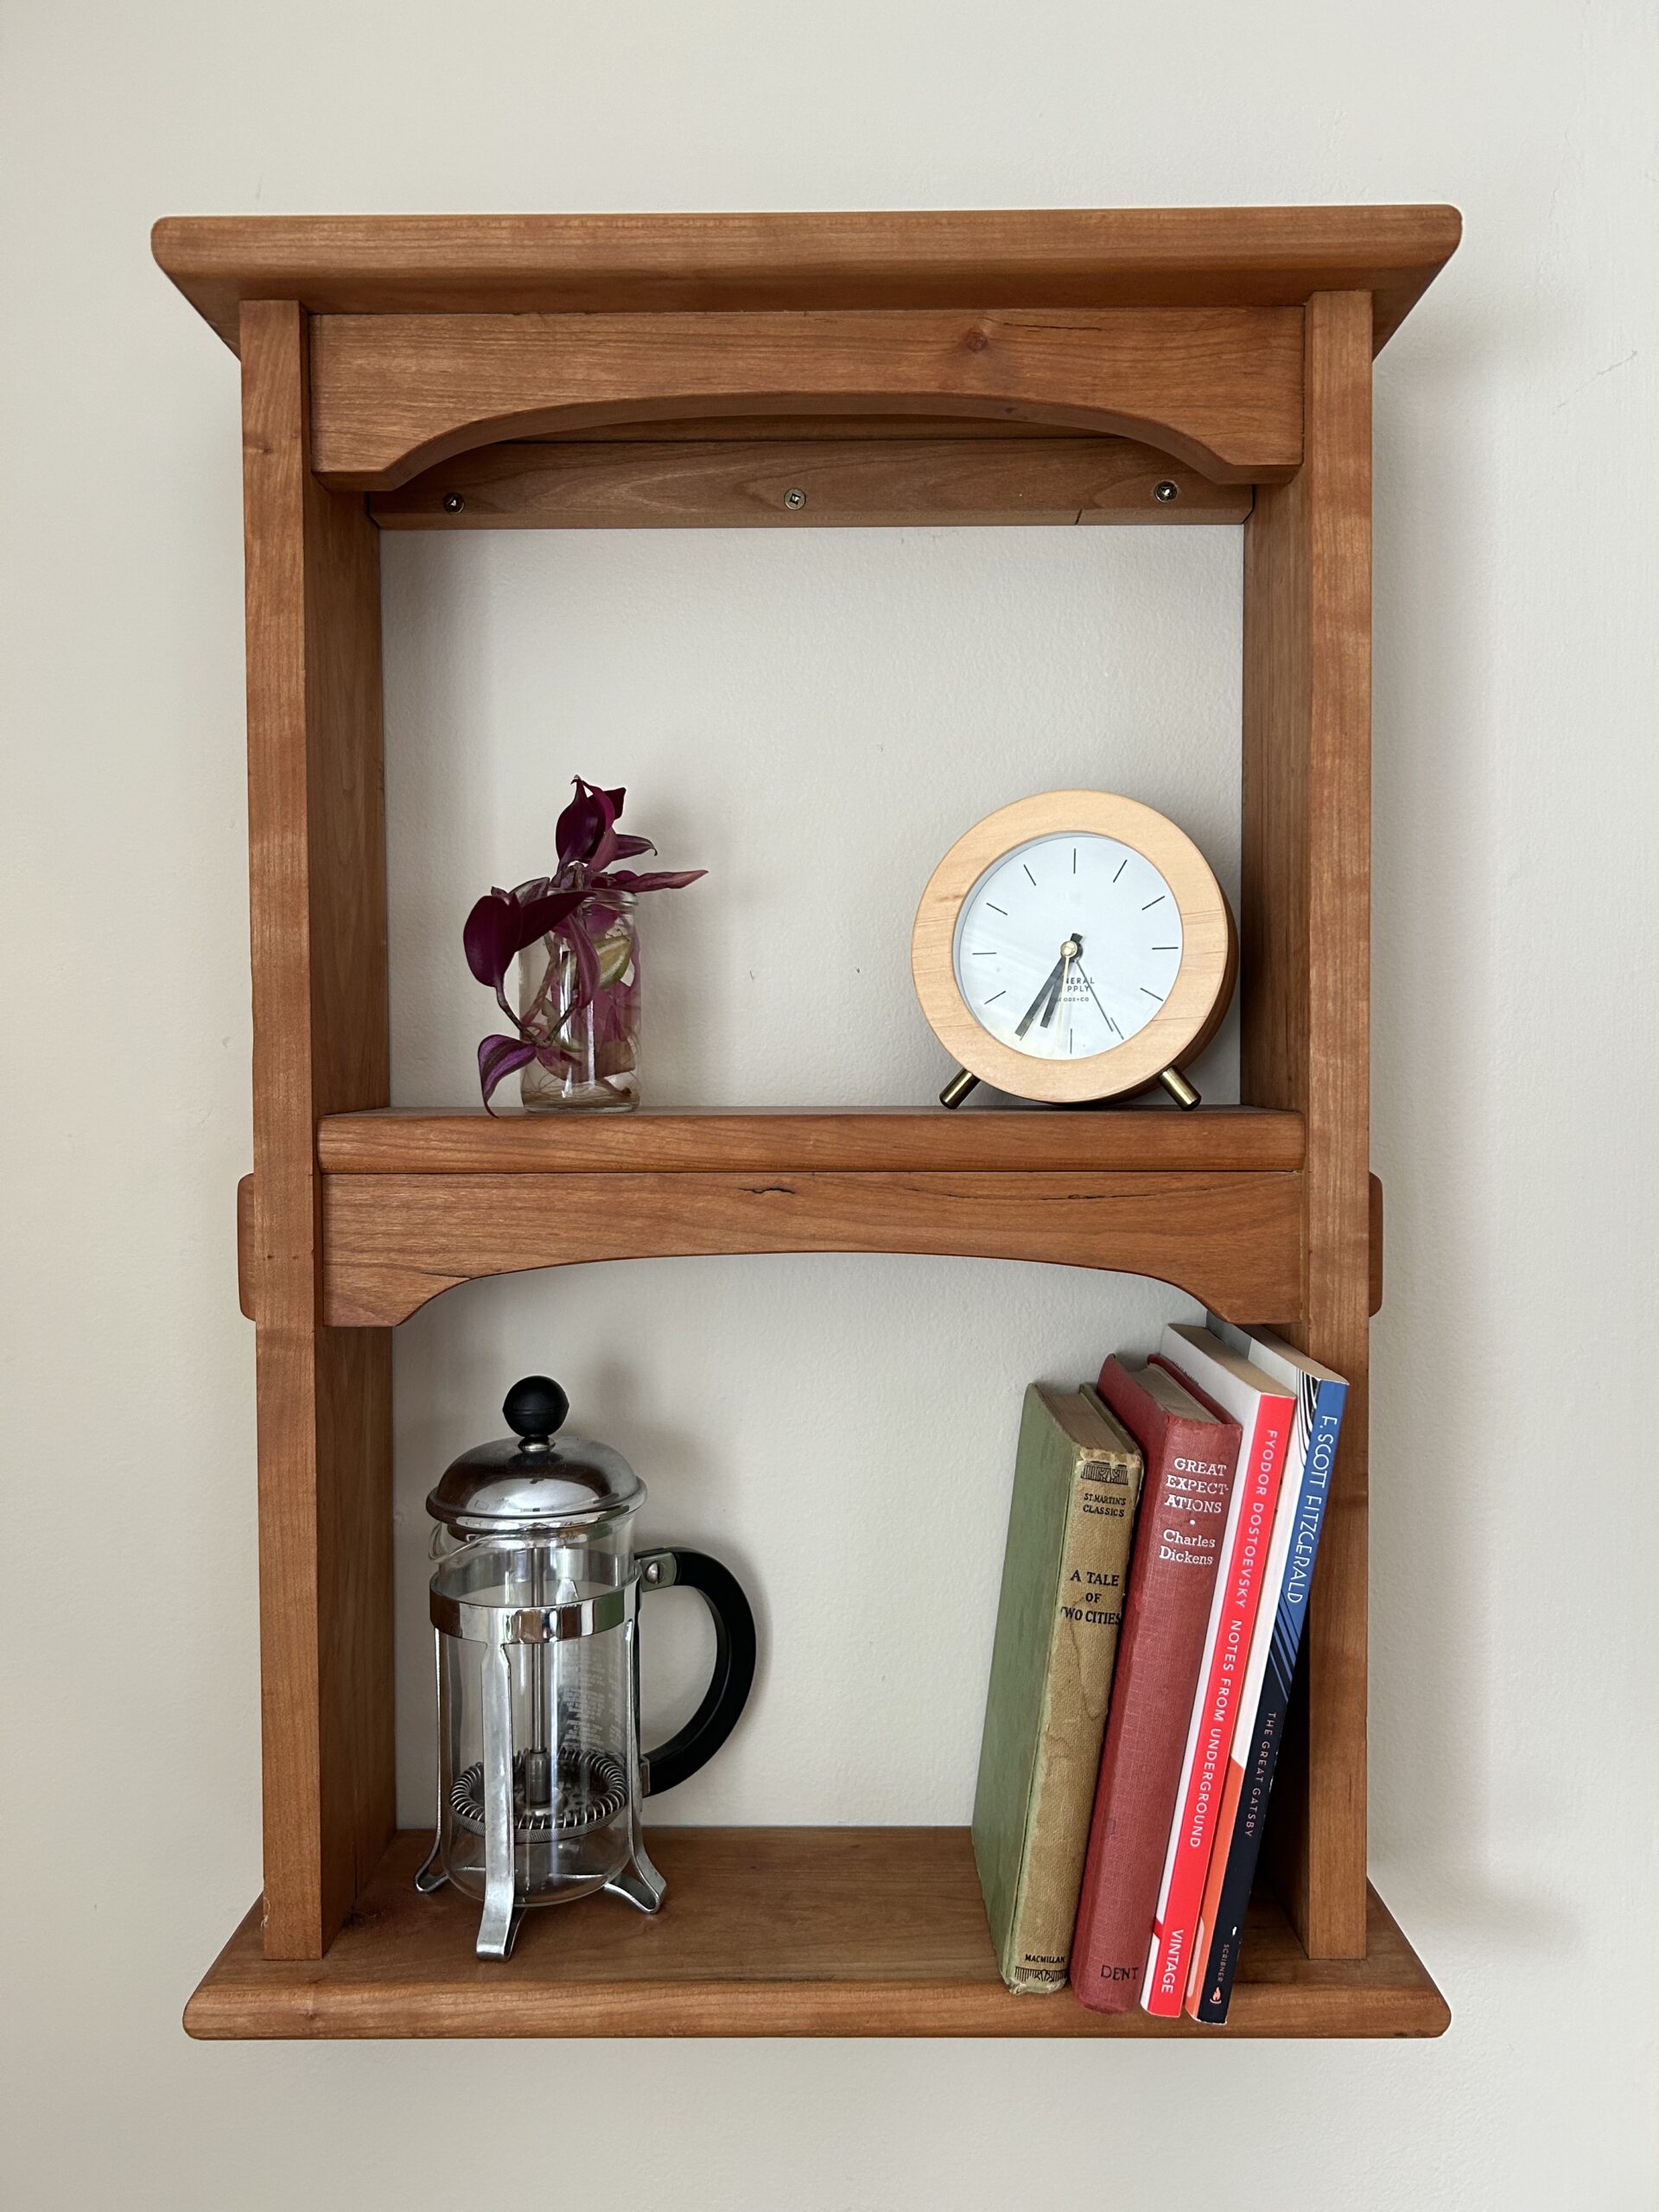
This little wall shelf must have thousands of copies all over the world by now, and like many others who built it I simply followed Paul Sellers’ instructions to the tee.
At the time of writing the first episode in the Youtube series has 96,000 views. In the gallery on Woodworkingmasterclasses.com we can see a handful that other disciples of Paul have made. I’m sure many, like me, sought guidance in using hand tools and didn’t have to look too far before finding Paul’s Youtube, websites Common Woodworking and Woodworking Masterclasses, and started devouring the blog. This blog post is more a reflection on the project and sharing some notes with the thousands of others who completed this project.
I decided on making this project a few years back when I deemed I had the tools and skills – or at least the confidence I could build the skills – to complete it to an adequate level. At the time, it would be a stretch for me in my shop and involved some new techniques but the series had clear, straightforward instruction that includes the why and not just the how. In this respect Paul is a great teacher. It’s one of the few projects I’ve completed start to finish with zero mistakes, disasters or repairs.
I had watched this series before planning to build it, and when I did decide to go ahead with the build I watched it start to finish again, paying attention to better understand the process and taking notes. When I was ready to start I went back and watched each step in isolation, building along the way and referring back if I was stuck or confused at a particular point.

Paul’s tutorials are some of the best out there, and compared to some other sources it’s clear that a good tutorial contains a few things beyond simply a paint-by-numbers style guide. First is a variety of ways to get a job done. There is no single right answer or correct way to do one thing in woodworking and anyone who tells you otherwise is either selling you something or wrong. Paul is excellent at demonstrating multiple ways to complete a task and letting you choose what’s best for you. This connects to the second thing that makes a good tutorial – the why behind what we’re doing and the decision making process along the way. A perfect example is reading the grain which Paul addresses constantly throughout his builds, showing multiple ways to deal with different situations.
There’s not much I can add to the build process that Paul doesn’t cover already; the best “how-to” is the original. However I will try to add some details that were unique to me. I decided to make mine from cherry and only needed a single board. I got all of the components from this board in solid pieces except for the middle shelf. Luckily enough I had enough scrap strips after ripping the other pieces to laminate to the perfect size for the shelf.


Given that these were the days of the balcony workshop it was quite a struggle. Workholding was the hardest part but I made it work with jigs, clamps and stops on the bench in different configurations. Sometimes it’s easy to watch these tutorials of masters building in their perfect shop with a huge bench, meticulously organised with every tool imaginable at their disposal, and think you can’t build it without what they have. I didn’t let it stop me on this one and focused on getting creative and being resourceful.
The cherry was S4S so I only needed to smooth plane it. Chopping the dadoes went well, laying out and marking the mortises and tenons, laying out and chopping the dadoes for the shelf. My favourite part which was just so satisfying was profiling the top, bottom and shelf at the end to give it a final shape and that feeling of completion. I finished it with a coat of boiled linseed oil and paste wax.


Cutting the curves was perhaps the trickiest part for me but this was my own fault., I roughly drew a curve and rushed to start cutting it. I didn’t mark it out precisely or take my time working to my line, so they turned out more elliptical shaped but I’m not upset about the result. Lesson learned, and next time more care will be taken with this process.
Upon reflection, the build was well worth it. Not just to have an attractive hand made wall shelf, but because I have constantly come back to the basics that I learned in this project: chopping dadoes, mortise and tenons, stopped housing dadoes, cutting curves. I’ve used all these techniques multiple times since building this.
Herein lies the value of this little shelf.
It equipped me with the skills and confidence not just to execute them but to translate them into my own projects too. No matter how many times I watched the videos I know I wouldn’t really be able to confidently apply these joints or techniques in my own projects. Only when they came through my own hands with my own tools did I feel a sense of ownership over the processes. I like to imagine many others have felt this rite of passage with this project and probably many others of Paul’s, or indeed other teachers out there. It’s encouraging, and an inspiring feeling. If I can do this here, maybe I can add it there. A world of possibilities opens.
The original cleat was from pine scraps and lazily executed but I recently upgraded that with some cherry scraps as in the photo above. Lots of lessons were learned and the shelf still looks great. The videos are free and material is cheap. It’s worth every penny, and ounce of effort. Hopefully the thousands of others who made it feel the same.


Leave a Reply