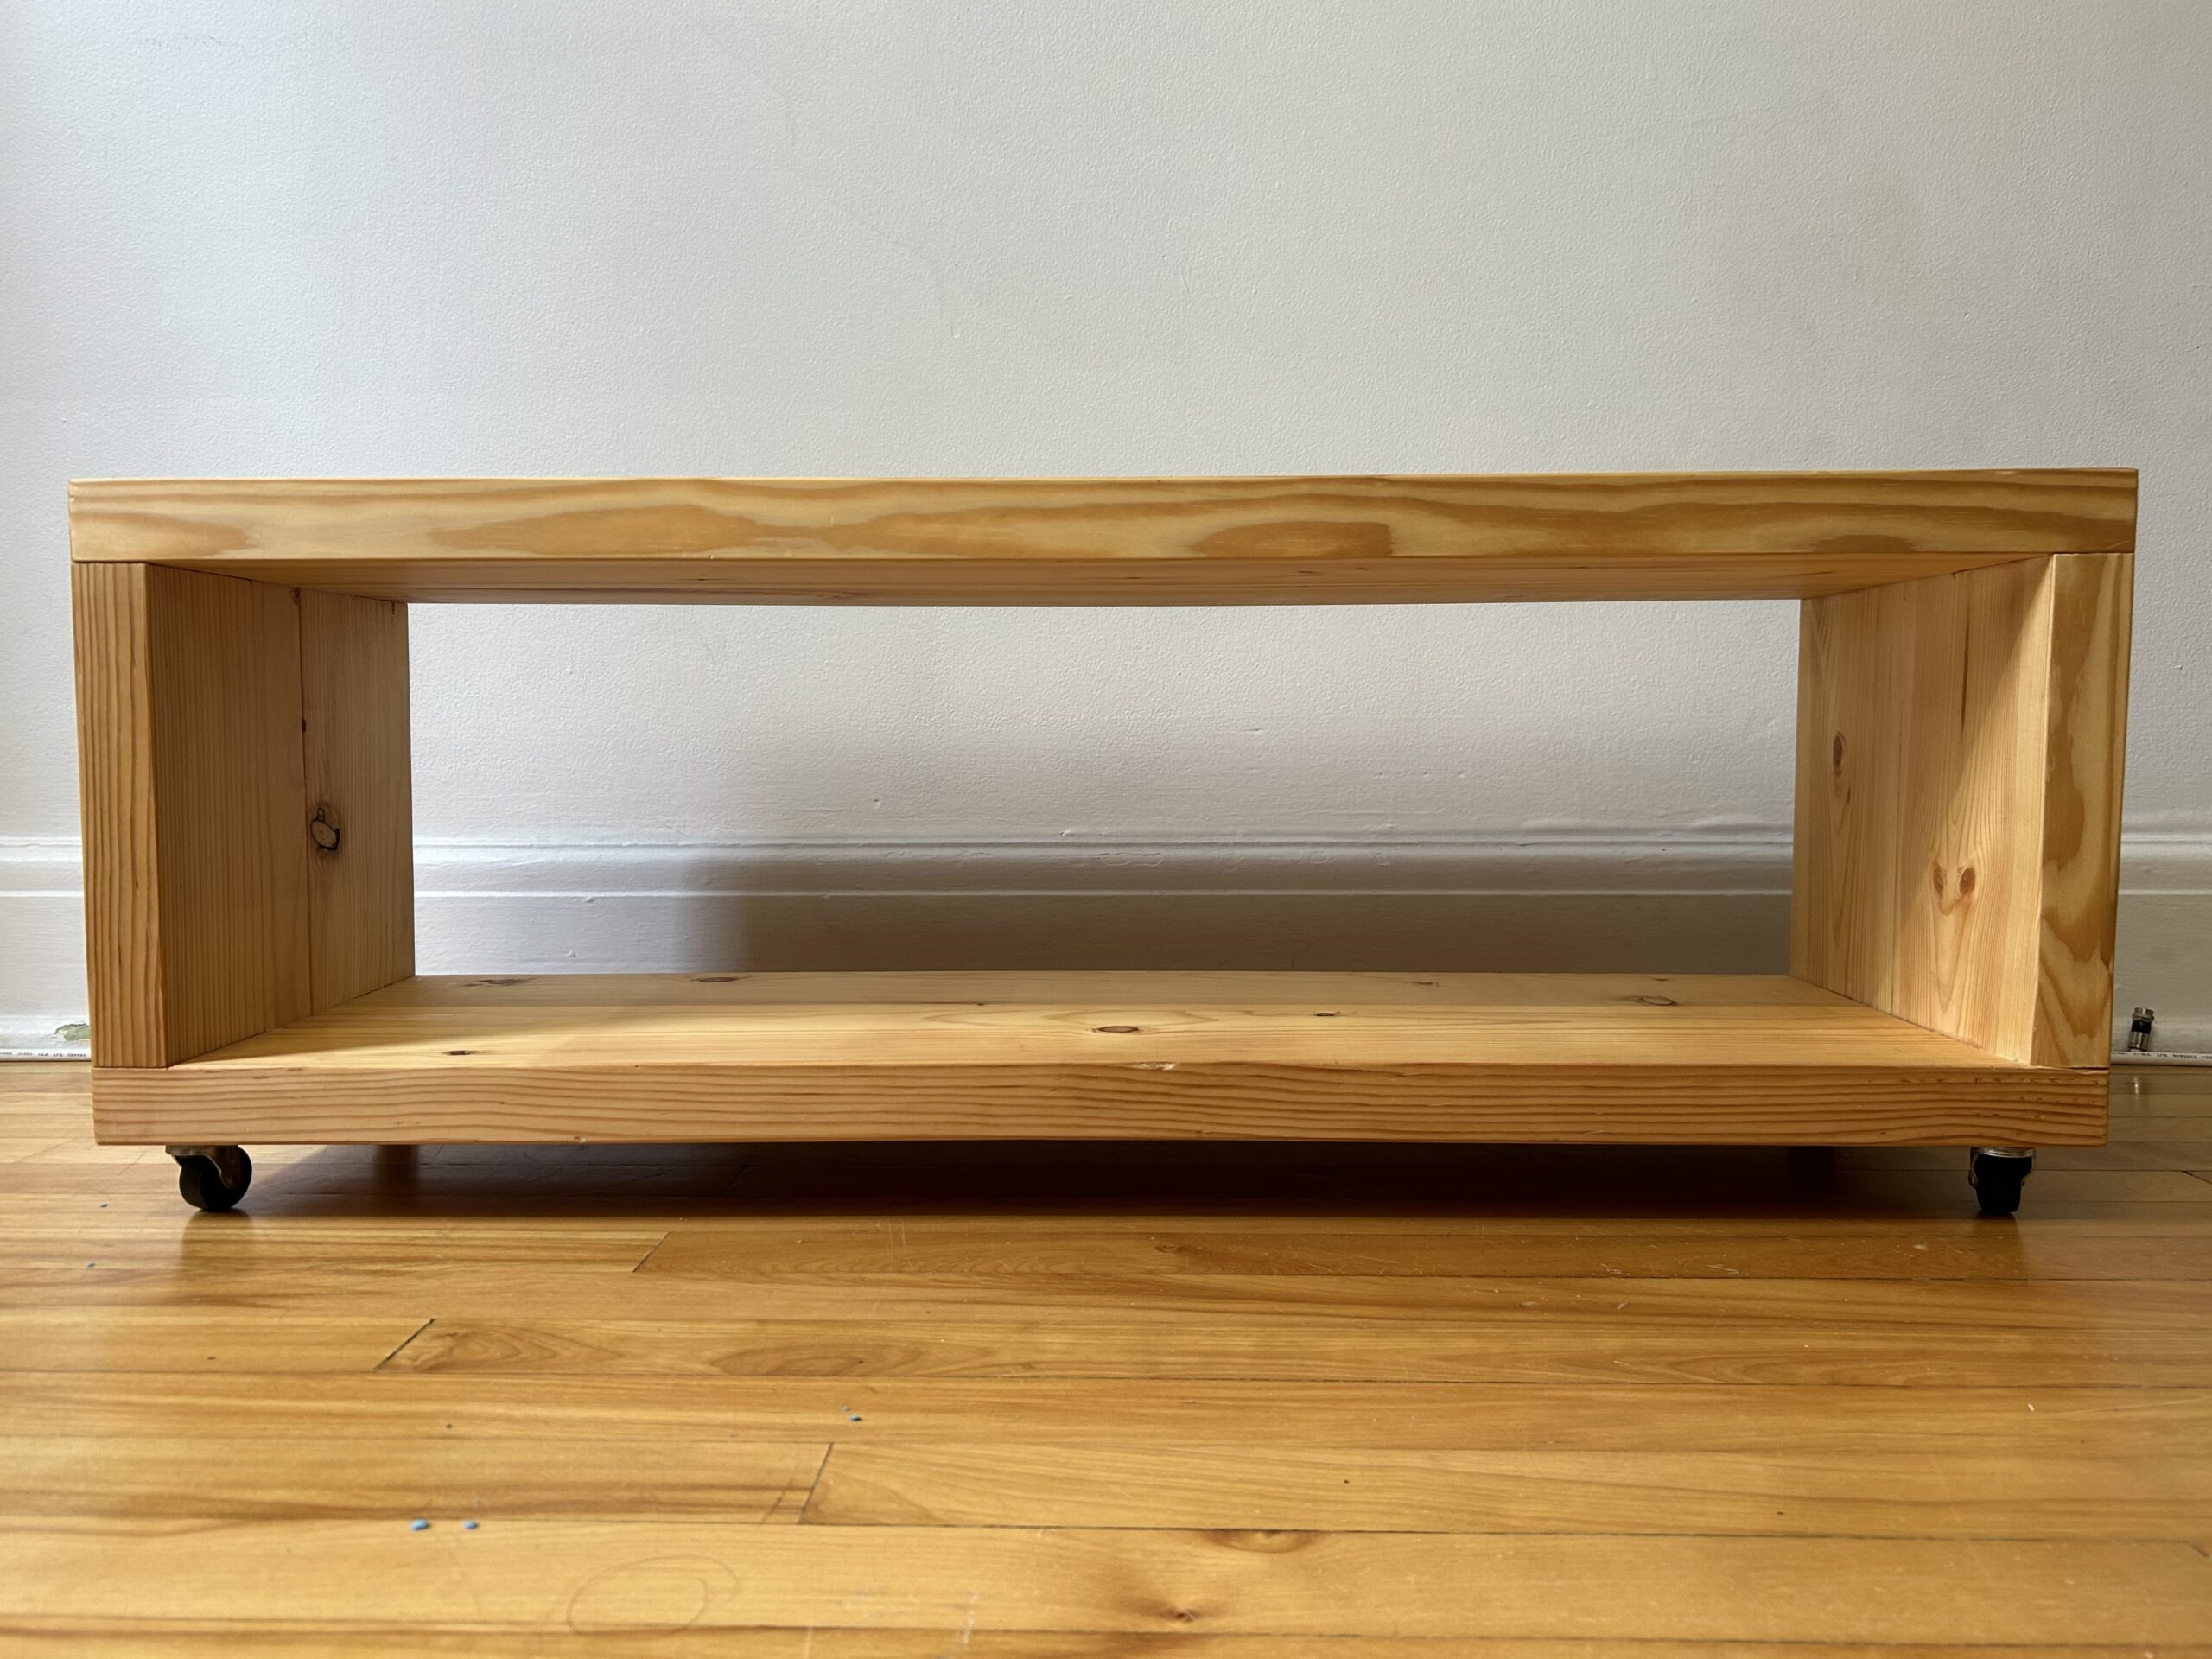
This is a quick and simple project I knocked out soon after building my Nicholson workbench, and a perfect trial run for regular operations like sawing, planing, joining, chiseling and assembly.
It’s a practical and cheap piece of furniture that we use as a tv stand but really could be any number of things – a bench, coffee table, storage, or bookshelves with multiple stacked on each other. The inspiration came from a relative’s house who had made a TV stand very similar to this one. It was low profile and minimal, and best of all on casters. We like to be able to clean in and around our larger furniture items so this is a huge benefit for vacuuming.
My version is made from two 2x6x8 boards, four casters and a handful of screws. I can’t remember how much exactly it cost me at the time of building but at the time of writing a 2x6x8 board at the big box store is $6.88 plus tax. The casters are $3.98 plus tax each, so to build it today would cost around $34. At it’s core it’s just a simple box and usually dovetails are my go-to. On such a utilitarian piece I thought they would be overkill but still wanted to use some kind of joinery. I decided on the single box joint (or is it a long grain bridle joint?) for a secure hold and a little visual interest.
I started by cutting the 2x6s in half. I was going to use the whole length of the boards so the top and bottom were 3’ long, the sides were 1’ long. Zero waste. With four 4’ boards I started to joint them to laminate the panels first. I knocked down any high or ragged spots with my jack plane, got them relatively straight and checked for twist given that these are thicker boards, and I didn’t flatten a reference face first. I planed out the twist, if any, and moved on to my old wooden jointer to get them dead straight. I planed a slight hollow for a sprung joint and on the first one I laminated two 4” boards with just one clamp. It worked great. The second one was harder as the remaining boards were more warped so I cut them to the 3’ and 1’ lengths, jointed them the same way and glued them up.

I cut the 4’ board to length and trimmed up all the ends to even out the 3’ and 1’ lengths. I planed one face side and edge and moved on to laying out joinery. This was fairly simple since all the lines were straight. The carcass saw, coping saw, chisel and mallet got the job done. Once they were seated and fitting well, assembly was also a simple operation.


Before assembling, I fit the casters. I laid them out in the four corners and decided to recess them into the bottom. Once I had the position, I traced them with a knife and chiseled out the bulk of the waste, then used the router plane to level off the bottom to the depth of the thickness of the plate on the caster. I screwed them in place and the piece was ready to assemble.
I could have just glued the corners but only had one clamp long enough to span the length of the piece so I opted to screw the corners to hold them while the glue set. I let it set overnight, then planed all the joints flush. The outside faces were still quite rough so I went around and cleaned them up once the joints were flushed up, and levelled off any unevenness in the front and back edges too.


I sanded it lightly with 220 grit, took off all the hard corners and finished it with a coat of Danish oil and paste wax. It’s just a static piece of furniture so won’t take much abuse, it will barely even be touched so I wasn’t overly particular with any aspect of the finishing process. It fits, it works, it has some storage and a year later is working great. Perhaps my only complaint is that in the end the grain doesn’t match or flow well around the front face which is the most visible part of the piece, but it was a practical piece and not design-oriented so I’m not terribly upset about it.
It was cheap, quick and fun to build. The TV stand is minimal for sure, but if we needed more compartments say for entertainment or gaming it could easily be built with shelves and dividers, or could probably be modified simply as is. I considered adding doors and a back panel to close it off but it’s not necessary for now – just possibilities for the future. Sometimes the no-pressure builds can be most enjoyable because there’s no real consequence to mistakes and once the final piece does what it’s supposed to do, that’s a success.


Leave a Reply