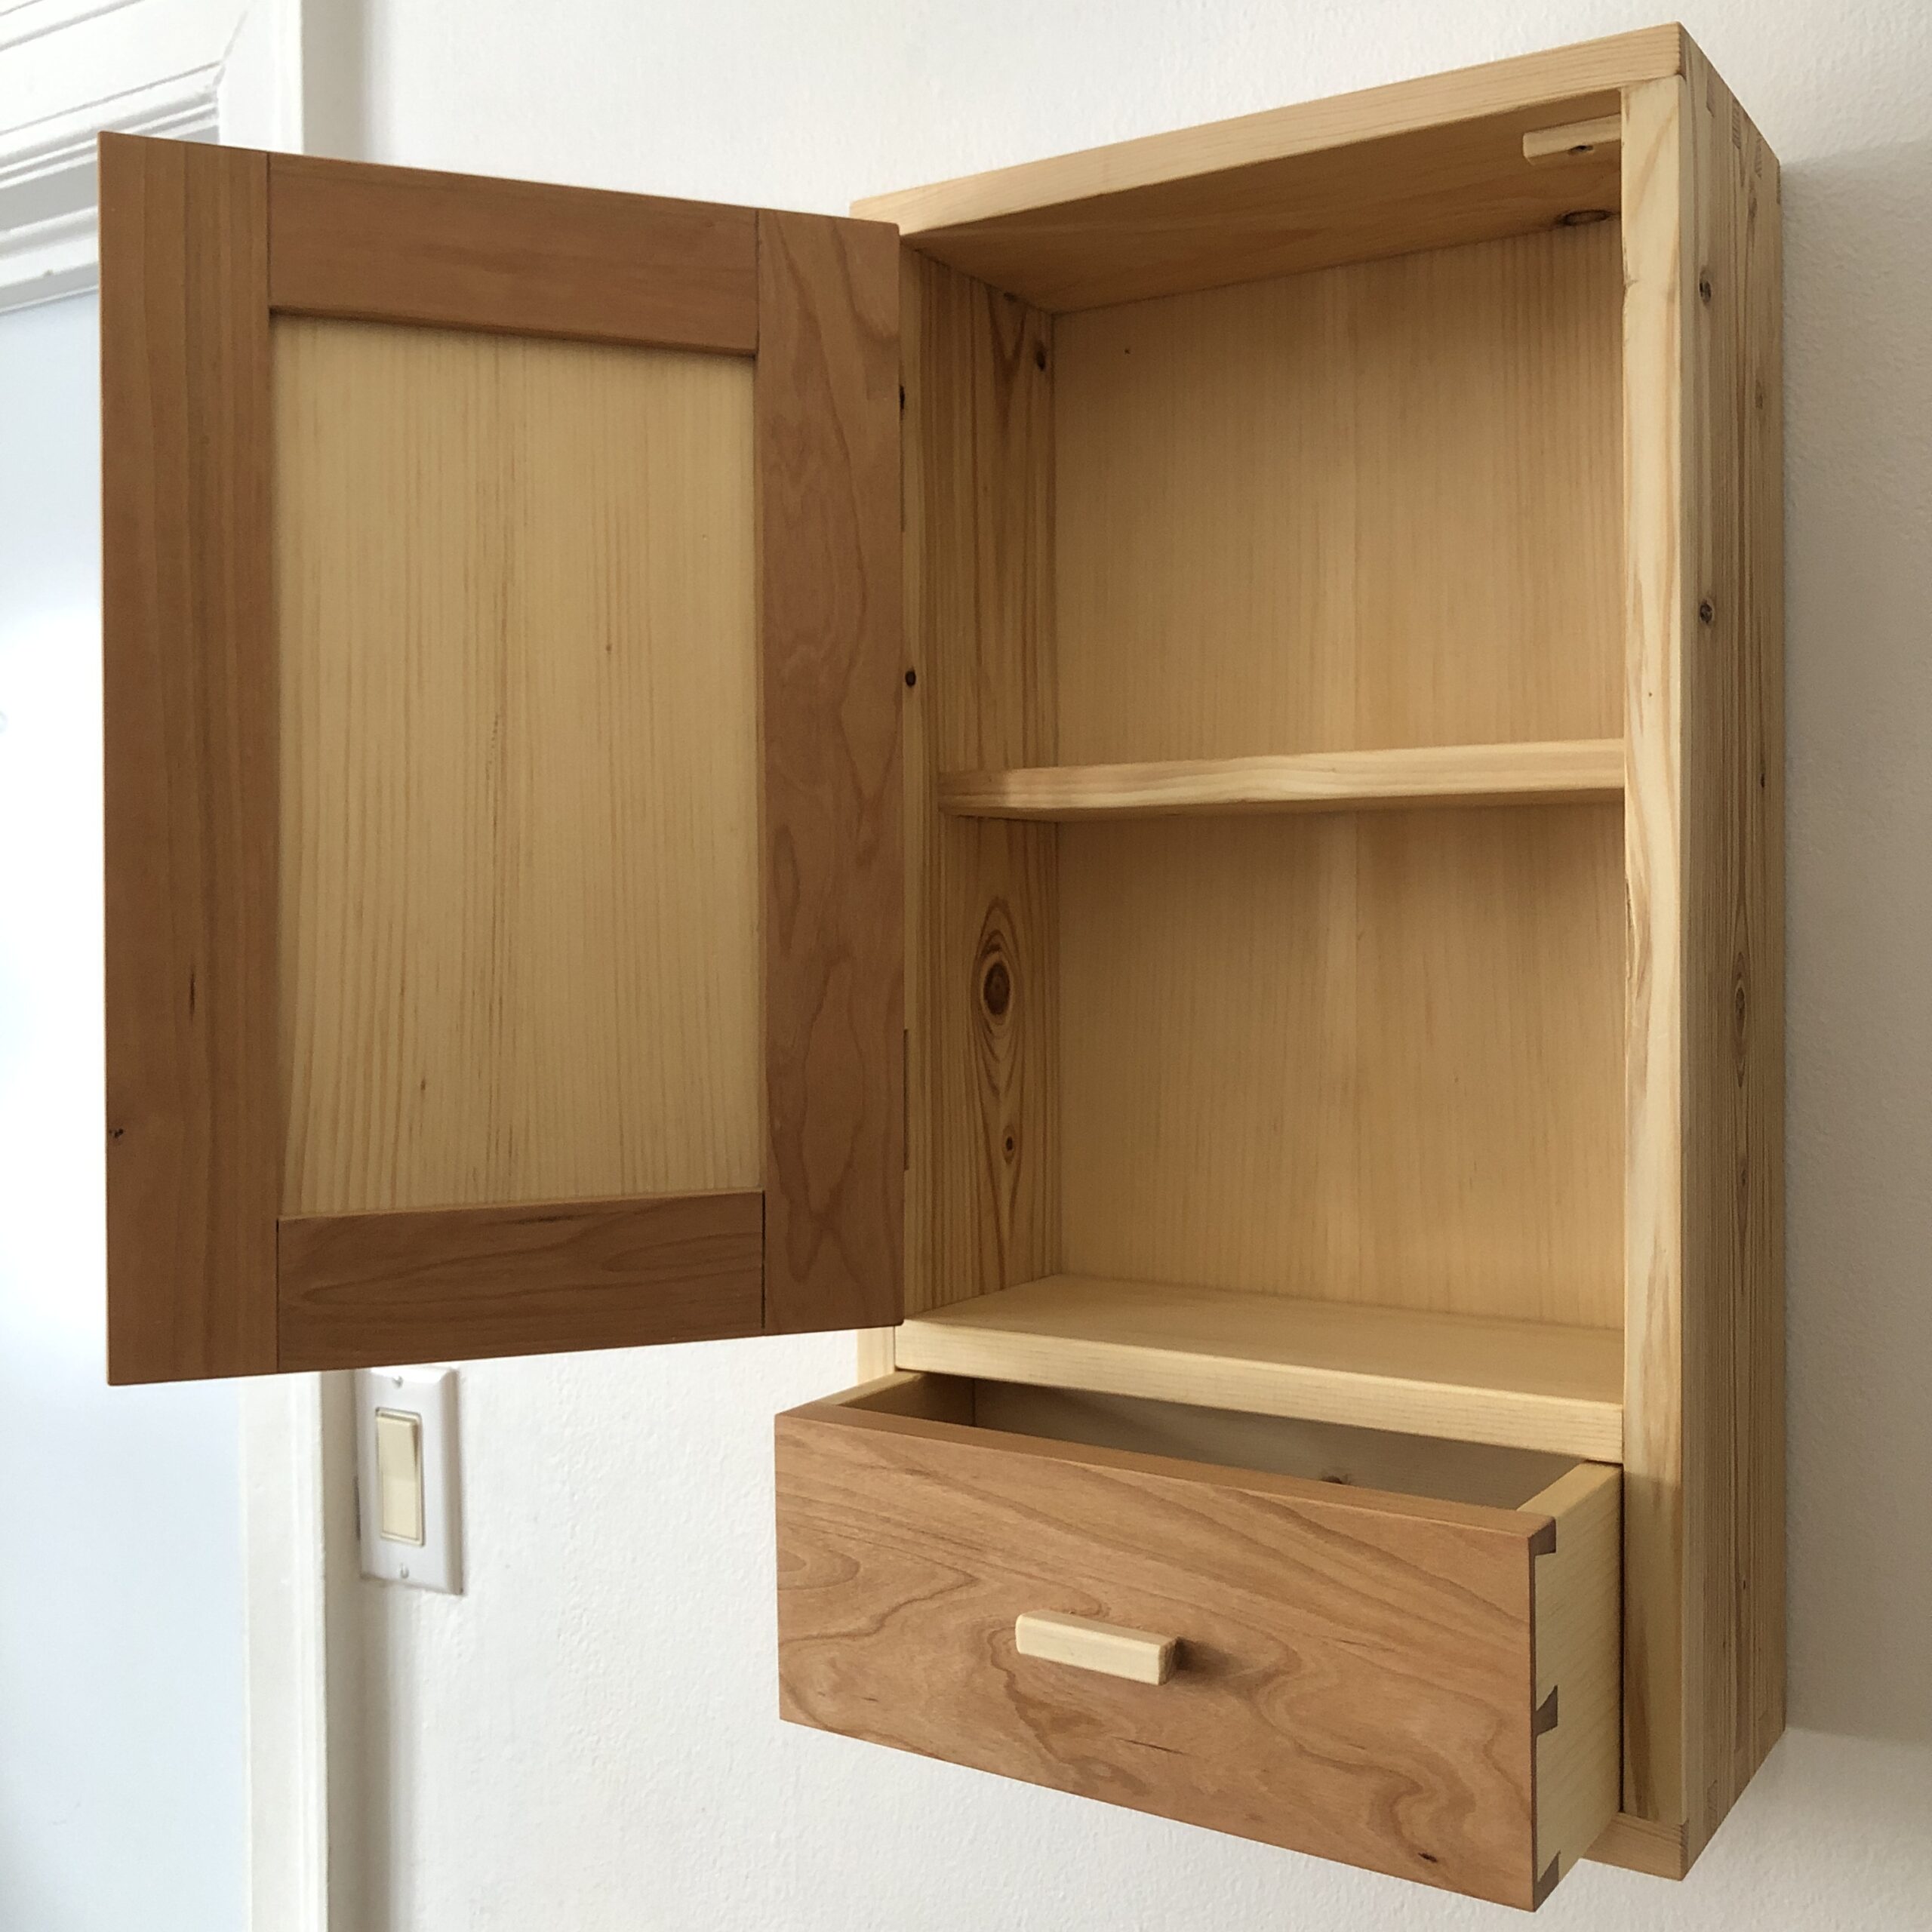
Casework. Dovetails. A door, a drawer, frame and panels.
This is about the extent of the planning process on this cabinet project. It wasn’t built for a particular need, to fill a particular void or house a specific thing or collection of things. This one is sheer self indulgence in the process.
Some pine construction lumber I found on the street and some beautiful cherry bought fresh from the local hardwood dealer. This is the extent of material selection.
Let’s call it the medicine cabinet. Built without a function (more on that later) and only the five things mentioned above in mind for a project.
This cabinet is probably the nicest thing I’ve made out of scrap wood. I didn’t exactly go dumpster diving looking for my cabinet material – I found a pile of lumber taped up outside a construction site, some of which happened to suit the project. So the design process had two elements as most projects probably do – the ballpark design I wanted to build and the material available on hand for the bulk of the work.

With the idea of a door and drawer in mind I knew the type of cabinet I wanted which is a fairly generic design. The challenge in the design was sizing and proportions for the space, function (or lack of) and material. The overall carcass dimensions were dictated by the pine 2×6 that I had on hand; I had enough to resaw the pieces for the two sides and top and bottom. This was my starting point.
Once I had those dimensions I planned everything else. One key for me was the proportion between the cabinet section on top and the drawer at the bottom. After sketching some ideas I settled on very roughly a 4:1 door to drawer ratio. I knew from the start this cabinet wouldn’t be extremely practical since it was shallow with only the 5.5” side material and I wanted to hang it with a French cleat which meant an inset back panel so the internal dimensions were getting even shallower. Never mind, this cabinet is indulgence in the process and not the result.
I had the overall dimensions of the sides and top and bottom, I had the dimensions of the door and drawer sections, and the internal dimensions for the back panel meaning I could calculate the divider and shelf.
I was about ready to kick off the project. I’m breaking this into two parts since I built it essentially in two stages: The Carcass; involving the sides and shelves, and The Door and Drawer; involving (you guessed it): the door and drawer. Once the carcass was built, then I took all the measurements off it and fitted them exactly to the carcass itself.
The carcass started with resawing the pine for the sides. This pine was nasty on the outside but actually fairly flat and straight. I started with flattening one side off which to mark the centreline to resaw. Commence resawing, then planing the sawn faces. I squared up the opposite faces, edges, and the ends. Once this was complete I could start the dovetailing process.


For this project I tried something new to start. I laid out my dovetails in pencil on some scrap wood to check the size and spacing and after a couple of rounds I landed on the current configuration. I kept this scrap layout as a template and used it to mark the four tail boards.
The dovetailing process was standard: saw the tails, chisel out the waste, mark the pins off the tails, saw the pins, chisel out the waste, fettle to fit.


Once the frame was fitted I could plan the shelves and the back panel. Here I learned a lesson in order of operations. Since I wanted to hang it with a french cleat almost flush against the wall, I needed the clearance to fit the cleat on to the back panel so I decided on running a groove to house the panel instead of a rebate. I used stopped dadoes for the shelves but at first hadn’t decided whether to also stop them at the groove at the back, or run them all the way to the back of the frame. I ran one from the back edge to the stopping point at the front and realised it is less work and looks better to stop it at the groove. I finished the dadoes for the divider then ran the groove around all four sides and chopped the dadoes for the interior shelf from the groove to the stopping point.


There’s not much to be said about the dadoes and grooves in this project, they were all straightforward and uneventful. A pleasing experience with the joinery so far.
Next I glued a panel for the back. Initially I planned to use two floating boards and use a shiplap joint in the middle but I didn’t account for the width of the overlap when I dimensioned the boards so I had to glue them, and use a solid panel. This panel came from some rough sawn 5/4 pine. I resawed it so technically it is book matched but the pine is so clear it’s hardly noticeable. The clearness of the pine made it wonderful to work though and resulted in a lovely panel that I think contrasts the more varying grain of the sides nicely.


Once everything on the carcass was fitted and I ran through a couple of dry fits, it was time to glue the carcass up. Fortunately this was also an uneventful process and relatively simple, involving virtually only the dovetails. They fit snugly and once it was left to dry overnight I planed the four corners flush. Now it’s time to move on to the door and drawer to fit them precisely to the carcass.


Leave a Reply