Part of the joy and pain of working with hand tools is being forced to be selective in the wood you use. Even in my hobbyist experience and as anyone who has built even a single project with hand tools will know, one swipe of the plane in the wrong direction with some nasty grain and you could be dealing with a disaster, and rarely with kiln dried lumber are you dealing with perfectly straight, clear, cooperative grain.
It’s non-optional to assess each board before even putting a blade near it. Some boards will be unfit for purpose and best saved for the Halloween bonfire. That’s a reality, but this is easiest to do with an abundance of material and when said fuel is easily replaceable (and cheap, which walnut is not). In a tiny shop where resources are scarce this isn’t so easy so the best we can do is work with and work around these troublesome boards.
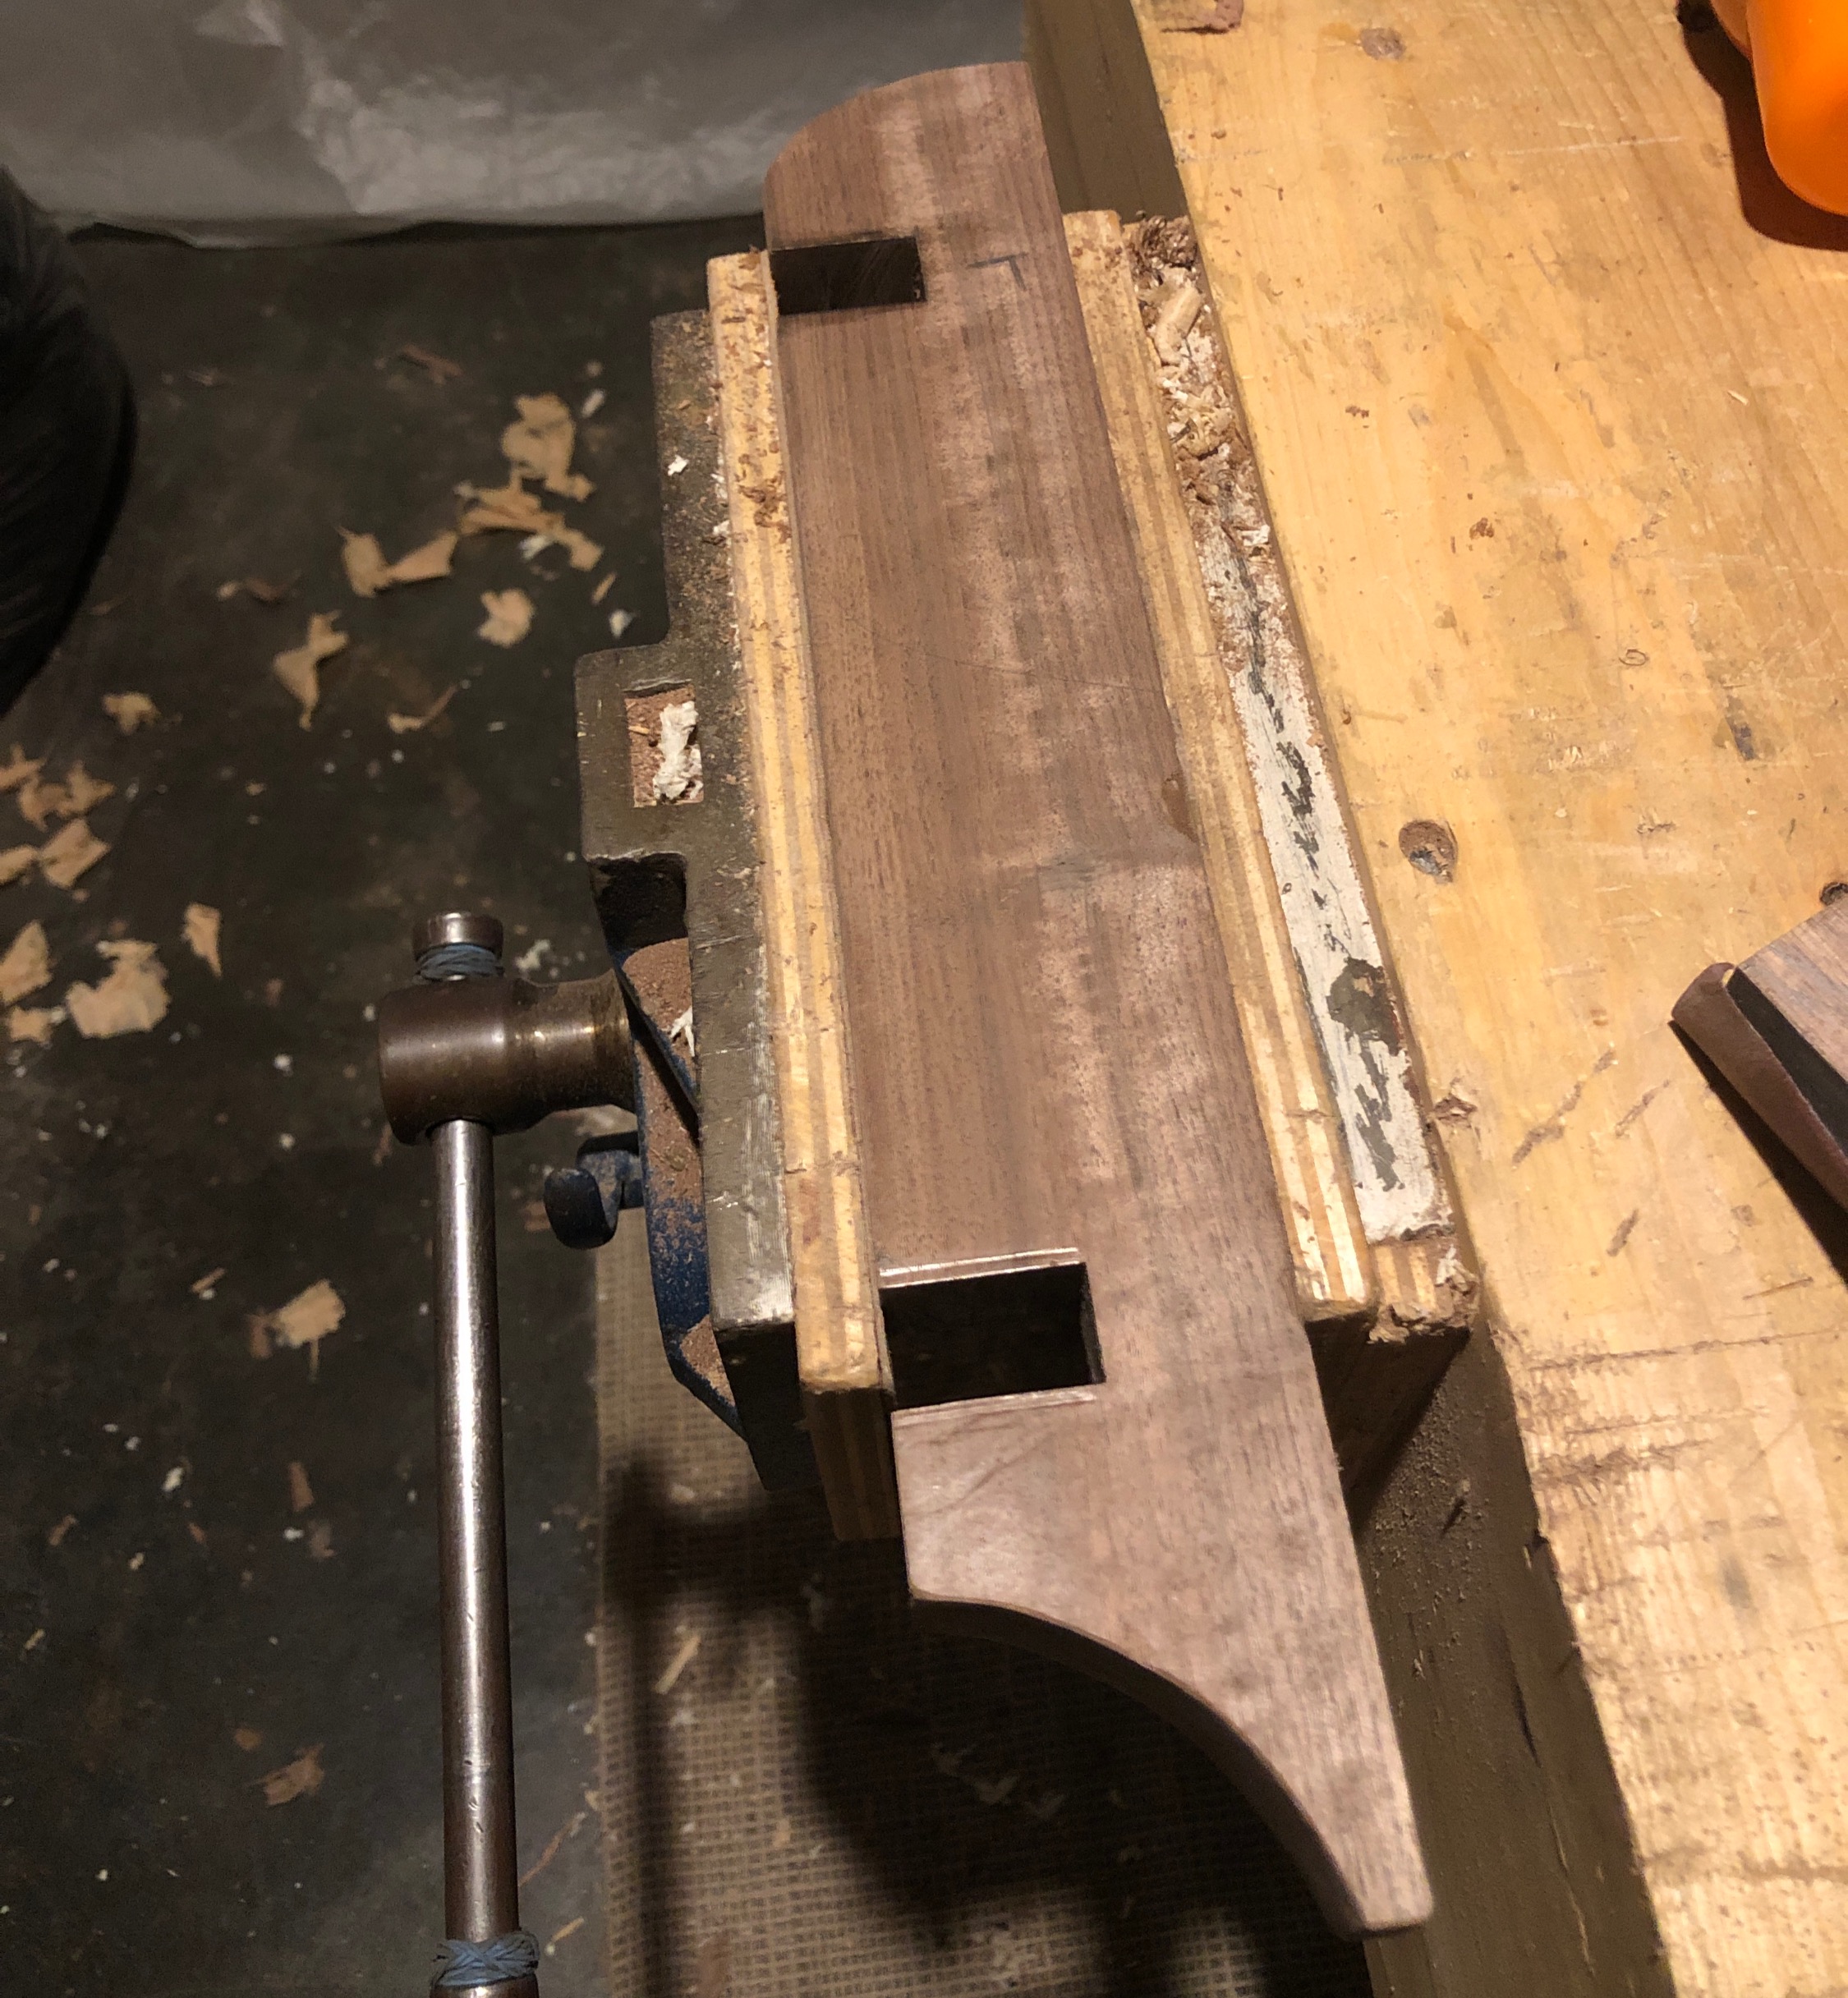
A perfect example is this piece of walnut I used in a project – it measures approximately 16″ x 2.5″ x 0.75″. It was perfectly mirrored, with grain running one way in one half and the other way in the other half.
See pictures below: the first is the face where you can clearly see the torn out left side. Second photo shows the grain on that side running towards the camera. Third photo shows grain running away.
I love working wood. I sometimes hate wood.


This was one of the only walnut scraps I had for this project so tossing it wasn’t an option. In cases like this there are a few things we can do to render the piece useful – since there’s no chance a quick pass of the plane will do anything but ruin it – if we’re so inclined to put in that much effort:
- Saw it down the middle to make two smaller, straight grained, easier to work pieces
- Sharpen, set the plane and deal with it. Go back to the Lost Art Press archives and use the steps – starting from #2, we’ve addressed #1 – Chris Schwarz provides to tune the hell out of your plane and deal with it that way.
- Use a scraper – a card scraper or cabinet scraper – to clean up the surface and try to remove the tearout.
In my case this was a necessary piece in my project and close to finished size so option one was a no-go. First I tried option two (admittedly with a fresh edge on the blade but not much more) but the moment I heard that unpleasant scraping sound I gave up on planing. So I was left with option three, clean up the surface with a scraper. I used both the cabinet and card scraper and this way was a lot easier to work with the grain whatever direction it was flowing. It didn’t give a perfectly glistening surface but it got rid of 90% of the tearout in less than 10 minutes.
Here’s a side by side comparison of before and after. It’s not perfect, but a hell of a lot better, and sanding with 220 grit evened out the surface to a consistent finish.


In this particular situation scrapers really saved the day. It’s been said a thousand times and there are plenty of videos and blogs out there about how to sharpen and use them, they’re all valuable, and mastering the scraper is essential in a hand tool shop and probably still extremely valuable in a machine shop.
This is just a tiny example, an illustration of how even the smallest pieces of material can cause major headaches. Sure, it’s not the worst you could encounter by a long shot – fairly tame all else considered – taking into account knots, reversing grain, crotches, burls (who the hell works burl by hand?), unbelievable variation and unlimited headaches. But it’s still a pain to encounter and interesting enough to demonstrate a point. I find it really amazing how a piece only 2.5” in width can be so varied. We have to look at every piece like this and come up with the best solution for the piece, the project, and our shop. Which may be chucking it in the burn pile, making a trip to the lumber store and doing a better job of selecting next time.
Here are some pictures of the finished piece. The surface came out well but as a final effort to hide the troublesome surface I used it as a less visible face. So before the burn pile I should really add one more option to my list above – hide it.


Leave a Reply