Yes, another post about me muddling my way through the initial phases of trying to start woodworking. I promise I will run out of these eventually and the content will shift to more current goings-on and other topics. Maybe I should just call this the “setting up shop” series and be done with it. I can add the “starting woodworking” post and “lessons in sharpening” post and you can read about all my struggles and woes in one shot.
If you haven’t currently got a workbench and need one, the first thing I’ll say is the best workbench is the one you can build (so just get started), the second best workbench is the one you can use (so just find an available surface and get started), and the worst possible workbench is probably my first attempt at one. So whatever you read here, do not try at home. Don’t waste your time. Take my lessons, and avoid my pain.
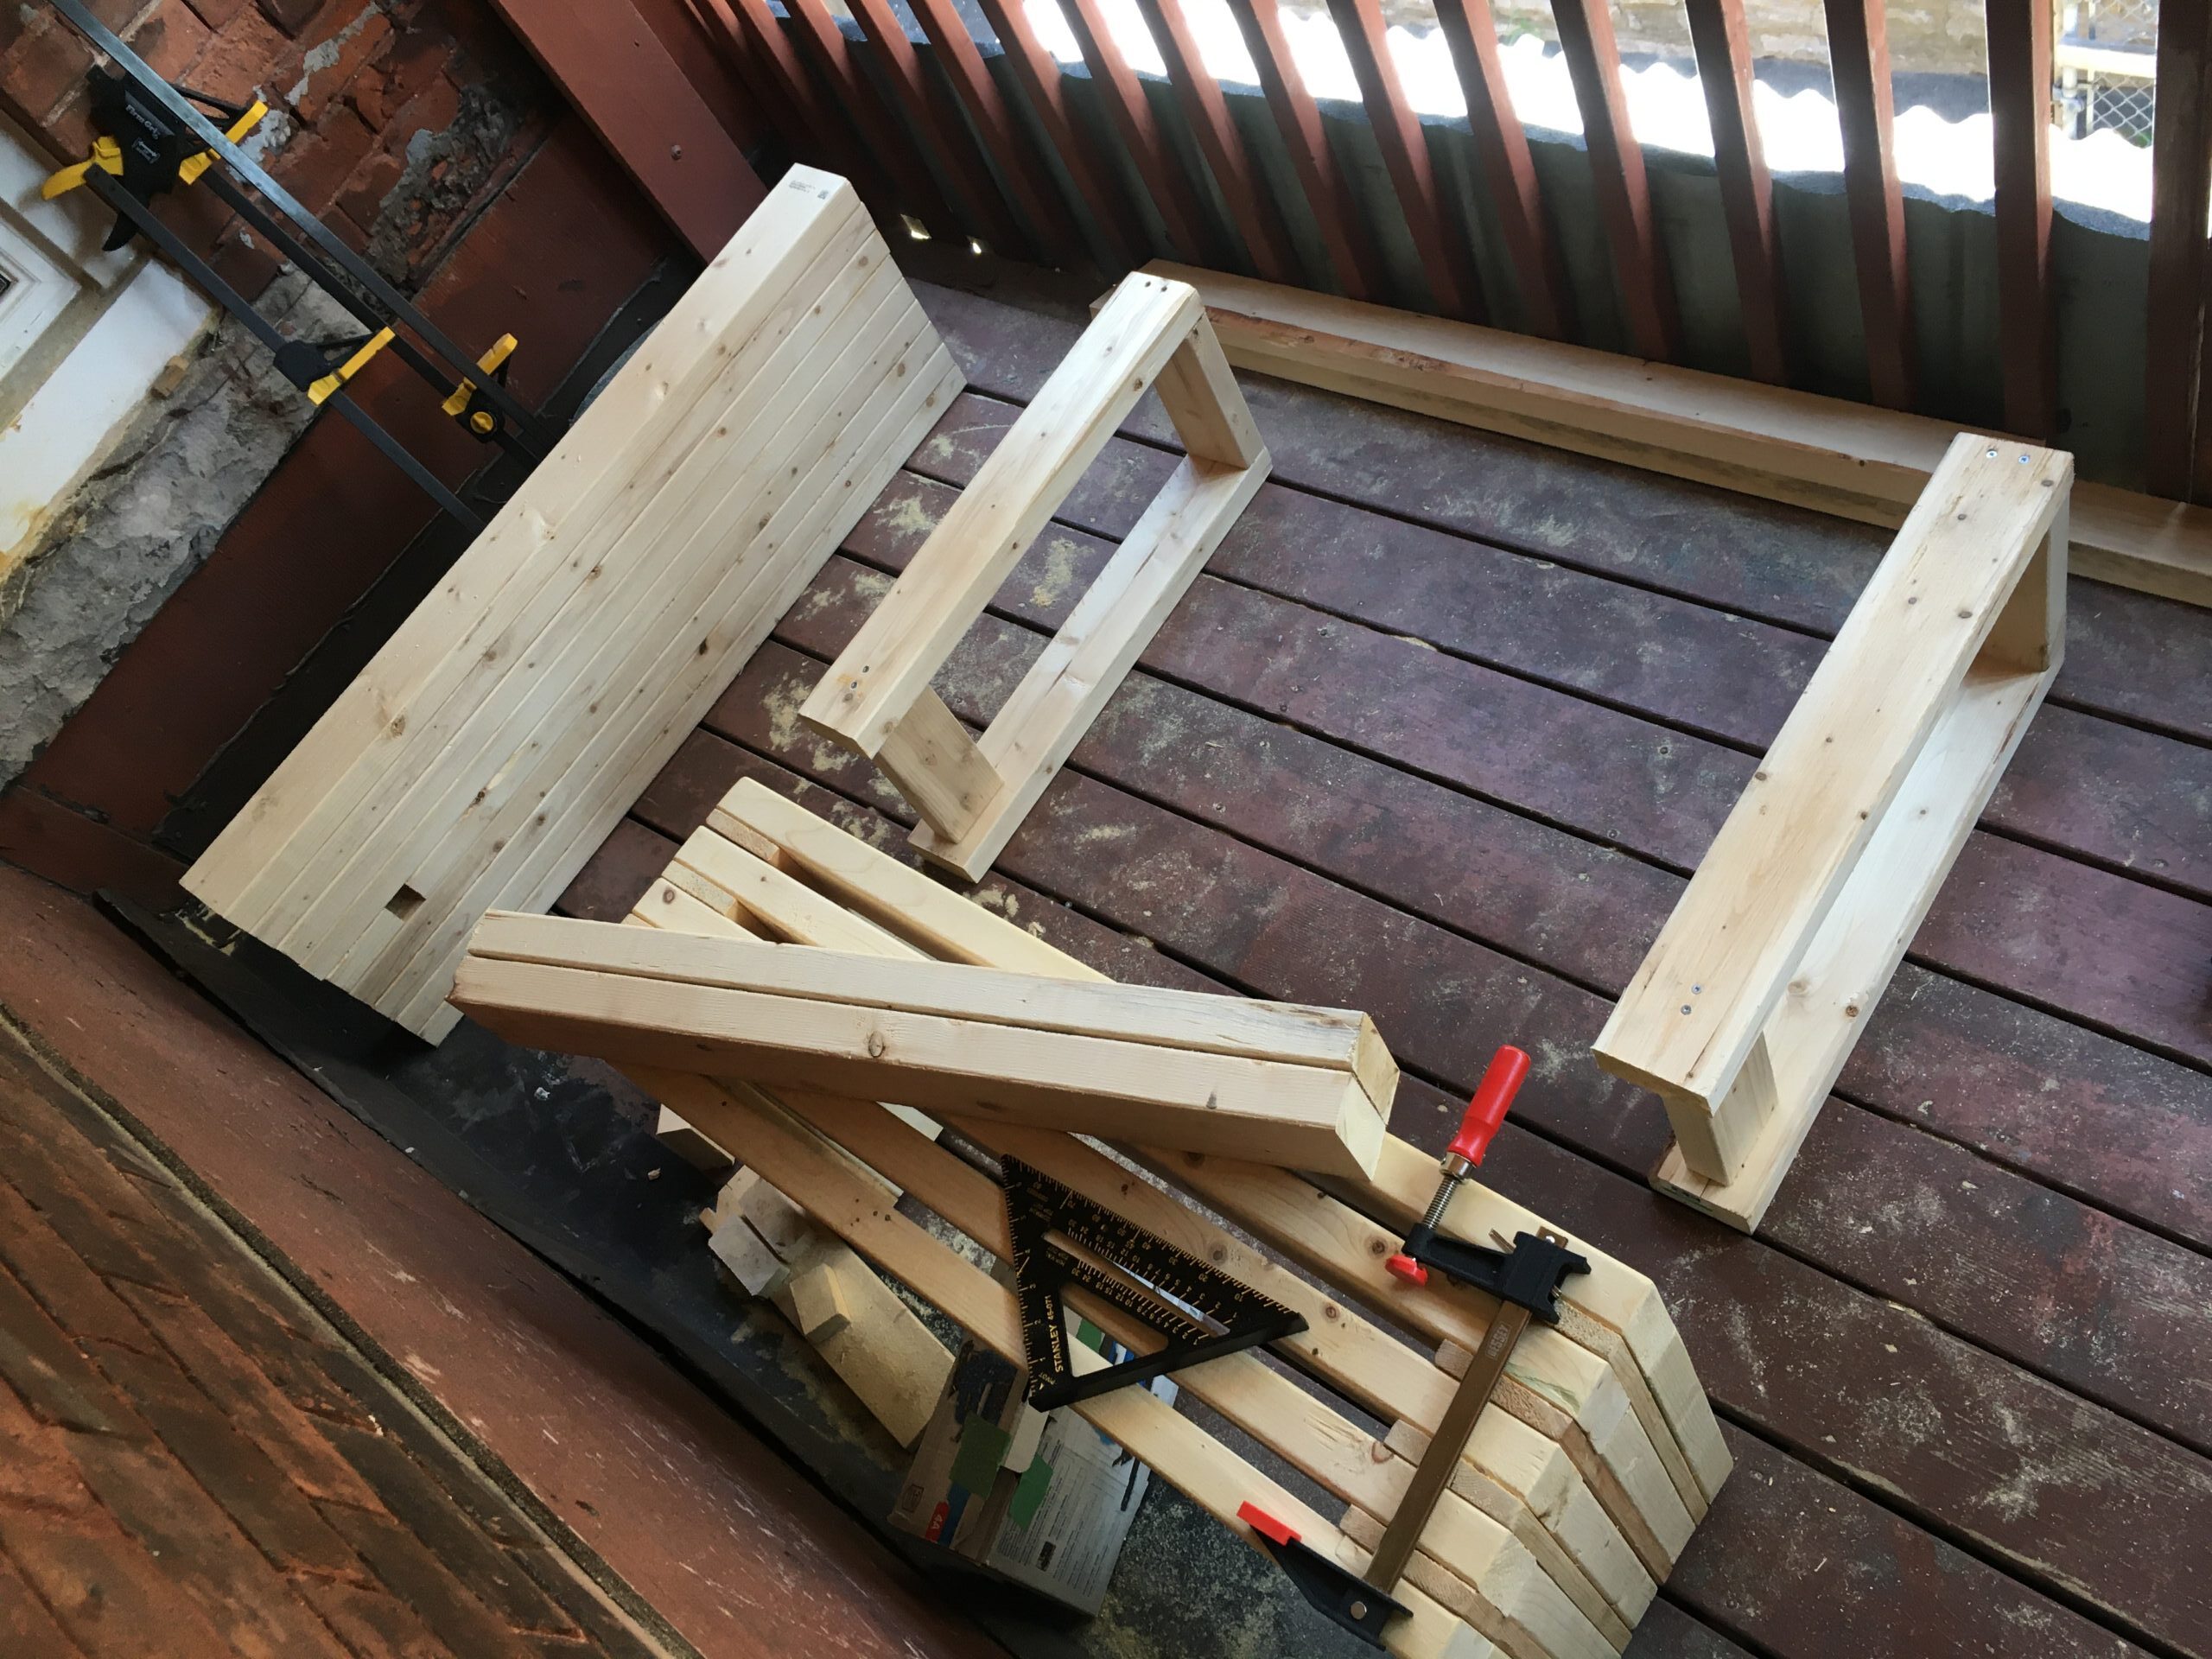
Truth be told my first work surface was the kitchen table (and floor – see the pine bench build). Alongside the kitchen table was the wooden bench I made. These two really came in handy. But the first workbench I actually built for myself with the purpose of being a workbench was this masterpiece:

I do want to preface this with some excuses. As you can see, I was working in a tight space. I also had limited to no skills or experience and had no idea what to look for in a workbench like sturdiness, workholding etc. So as the title suggests, I built a workbench and over the course of a few years modified it to try to improve it and make it work.
I essentially saw Rex’s $30 workbench and was sold. I did not build the $30 workbench but tried to build my own version. I laminated the top (mortise for planing stop included)at a size that worked for my balcony and screwed together two little frames for legs. I tried to add stretchers with dowel reinforcement but these were essentially chopsticks and didn’t work. Didn’t work as in, I had no idea how to line up holes for dowels so it ended up a complete mess.
I realised quickly this was very top-heavy and unstable. At that time I thought it was just a surface to work atop of and didn’t understand that it should stand up to all different types of forces.
My first modification after a time was shortening the leg frames. I just lowered it at first by taking them apart and shortening the legs. Sadly, no joinery, no glue. It was slightly more stable but not by much. The next modification was changing the legs again. I decided to try for the splayed legs with round tenons through mortises drilled into the benchtop. This was actually slightly better though poorly executed. It wasn’t as prone to tipping but still too light to stand up to any force.
For workholding I tried to improvise a vise-like contraption by screwing a 2×4 cutoff on the bottom, with a narrow groove cut in, to hold a clamp across the bottom of the bench to clamp pieces to the sides of the bench. This actually wasn’t a terrible idea and did come in handy. In context. See them in this picture – this is after shortening the legs, adding the clamps, and you’ll see some additional supports on the frame. It actually looks kind of cute.

To stop the bench from skidding across the balcony when planing (when I couldn’t sit on it) I added some 2×2 “prongs” to the front to butt it up against a wall.
The round tenons of the legs were around 1” which was the biggest drill bit I had at that time. I knew this wasn’t ideal but it was the only option I had. Clearly they were a bit too frail and one eventually snapped completely, leaving my bench a tripod. And a little more prone to tipping.
I needed new legs. Again. This time I wanted them to be beefy and permanent. I decided on sawhorse-style legs from some scrap 2×4 and followed Paul Sellers’ method in his sawhorse video. These are joined, screwed and glued, and splayed. This was a huge improvement in terms of stability but overall the bench was still too light.

Another modification if we can call it that is I procured the top half of a workmate and started using that as a worktop Moxon-vise like apparatus which really improved workholding and the usability of the bench as a whole. A couple of F-clamps to hold it in place and I had a higher, more secure and clampier work surface.
It still lives in this low roman-sawhorse-bastard form and is an excellent surface to store my lumber. I built my current workbench on this bench so overall it taught me a lot of valuable lessons and served its purpose as a starting point. I will use it (and probably modify it again) in the future. Surprisingly the laminated top has held up quite well.
I stick by what I said. If you haven’t currently got a workbench and need one, the first thing I’ll say is the best workbench is the one you can build (so just get started), the second best workbench is the one you can use (so just find an available surface and get started), and the worst possible workbench is probably my first attempt at one.
From this awful attempt at a workbench I learned it needs to be big enough for the work you’re doing, heavy and sturdy enough to resist the forces applied, tall (or short) enough to be comfortable, and have a variety of workholding options. This had none of those things. My Nicholson does. I love my Nicholson.
On workbenches, here are some resources:


Leave a Reply